How to Install a Kitchen Sink
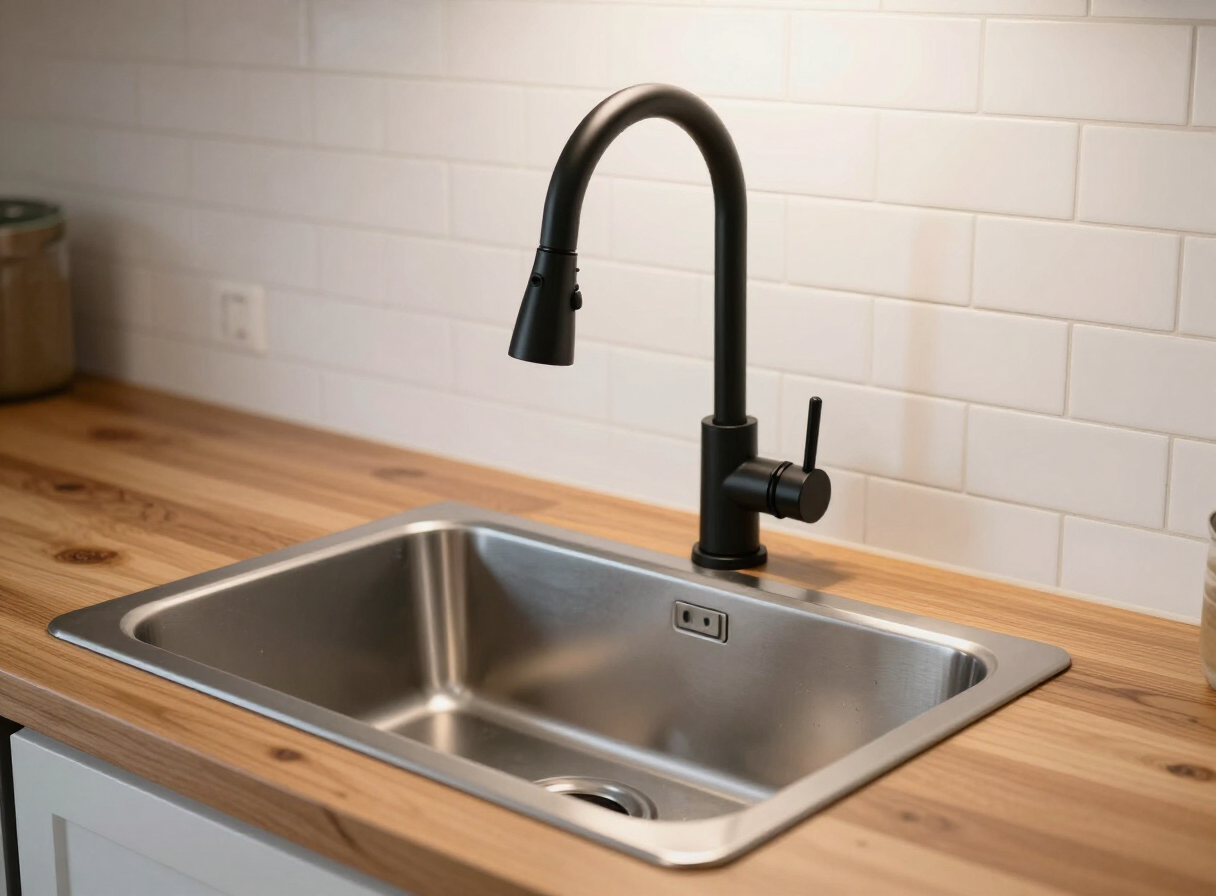
A practical starting point for replacing a drop-in kitchen sink. Measure carefully, keep your connections organized, and always follow the instructions for your specific sink.
Shut off the water and disconnect power to any nearby disposal before starting. Heavy sinks need a second pair of hands. If valves do not shut off completely, call a plumber.
Step-by-step instructions
- 1
Measure and check the fit
Measure the existing opening, cabinet space, and sink depth. Confirm the new sink is compatible with your countertop and that the drain will align before removing anything.
- 2
Shut off and disconnect
Close the hot and cold supply valves, open the faucet to relieve pressure, and place a bucket under the plumbing. Photograph the connections, then disconnect supply lines and the drain.
- 3
Remove the old sink
Release the mounting clips and carefully cut the old seal. Lift out the sink with help if needed. Clean the countertop without damaging its surface.
- 4
Install and reconnect
Apply the seal specified by the manufacturer, lower the sink into place, and tighten mounting clips evenly. Reconnect the drain and water supplies using the correct fittings.
- 5
Test for leaks
Restore water slowly and check every connection. Fill and drain the sink, inspect below with a dry towel, and recheck after normal use. Respect sealant cure times.
Watch the project
Frequently asked questions
Can I reuse the existing drain?
Only if its condition, size, and alignment suit the new sink. Replace worn seals and incompatible fittings.
Do all sinks use silicone?
No. Follow the sink and countertop manufacturers’ instructions; some materials require a specific sealant.