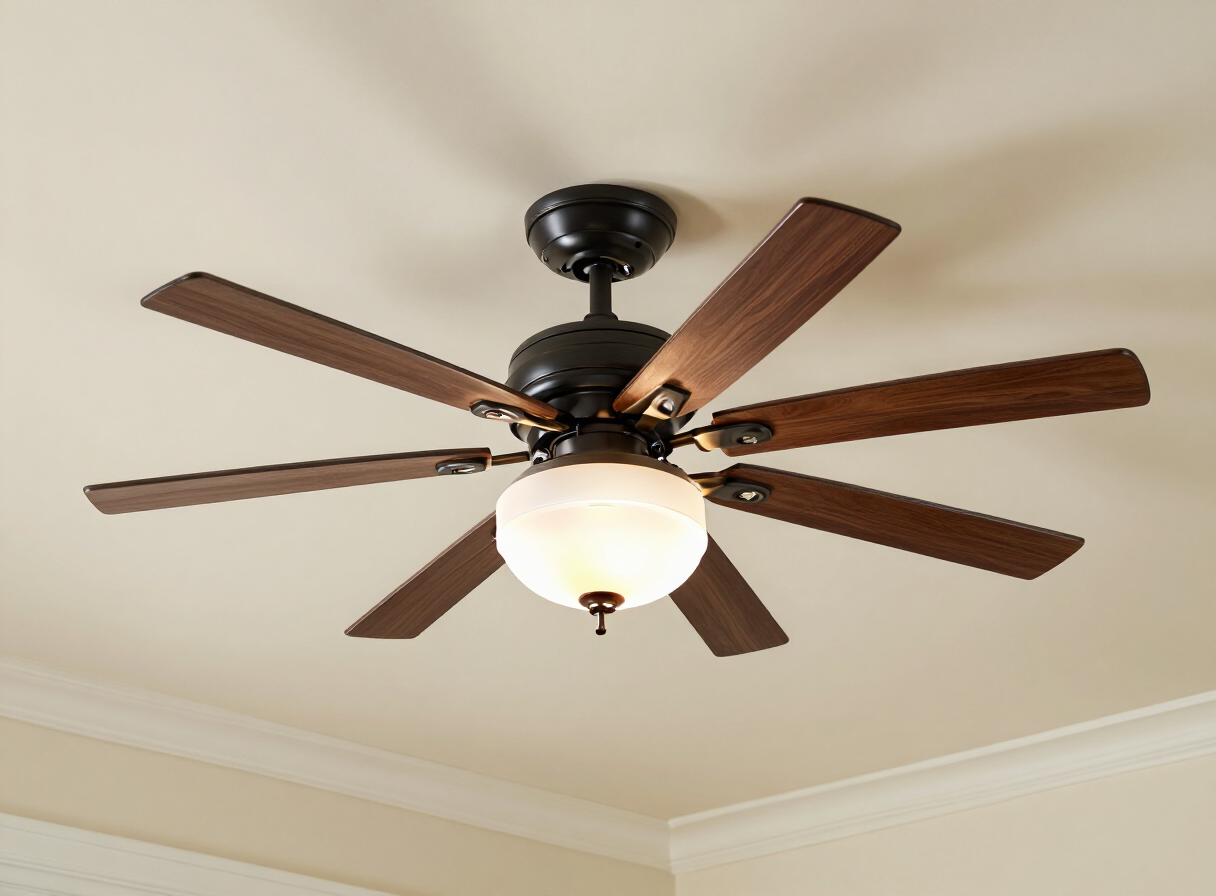
How to Install a Ceiling Fan
Before replacing a light with a ceiling fan, verify the support, wiring, and clearances. This planning guide helps you understand the job and when to bring in an electrician.
Turn off the breaker and verify power is absent with an appropriate tester before touching wires. A wall switch alone is not enough. Hire a licensed electrician if wiring, grounding, box support, or local requirements are unclear.
Step-by-step instructions
- 1
Check support and clearances
Confirm the box is explicitly rated to support a ceiling fan and securely attached to suitable framing. Check blade and floor clearances in the fan manual.
- 2
Switch off and verify
Turn off the correct circuit breaker. Verify the tester works on a known live source, confirm power is absent at the work area, and verify the tester again.
- 3
Mount the bracket
Remove the old fixture only after confirming power is off. Attach the manufacturer’s mounting bracket to the fan-rated box with the specified hardware.
- 4
Follow the wiring diagram
Have a qualified person connect the fan exactly as its wiring diagram specifies. Wire colors alone are not enough to identify older or modified wiring.
- 5
Assemble and test
Secure all covers and blades as instructed. Restore power only after the installation is complete. Test speeds and lights; switch off and investigate unusual movement or noise.
Watch the project
Frequently asked questions
Can I use the existing light-fixture box?
Only if it is explicitly rated for ceiling fans and properly supported. Many light-fixture boxes are not.