Install a Frost-Proof Spigot
Plan a frost-resistant outdoor faucet replacement with attention to access, slope, and the location of the shutoff. Connections vary by home, so this overview is not a substitute for the installation manual.
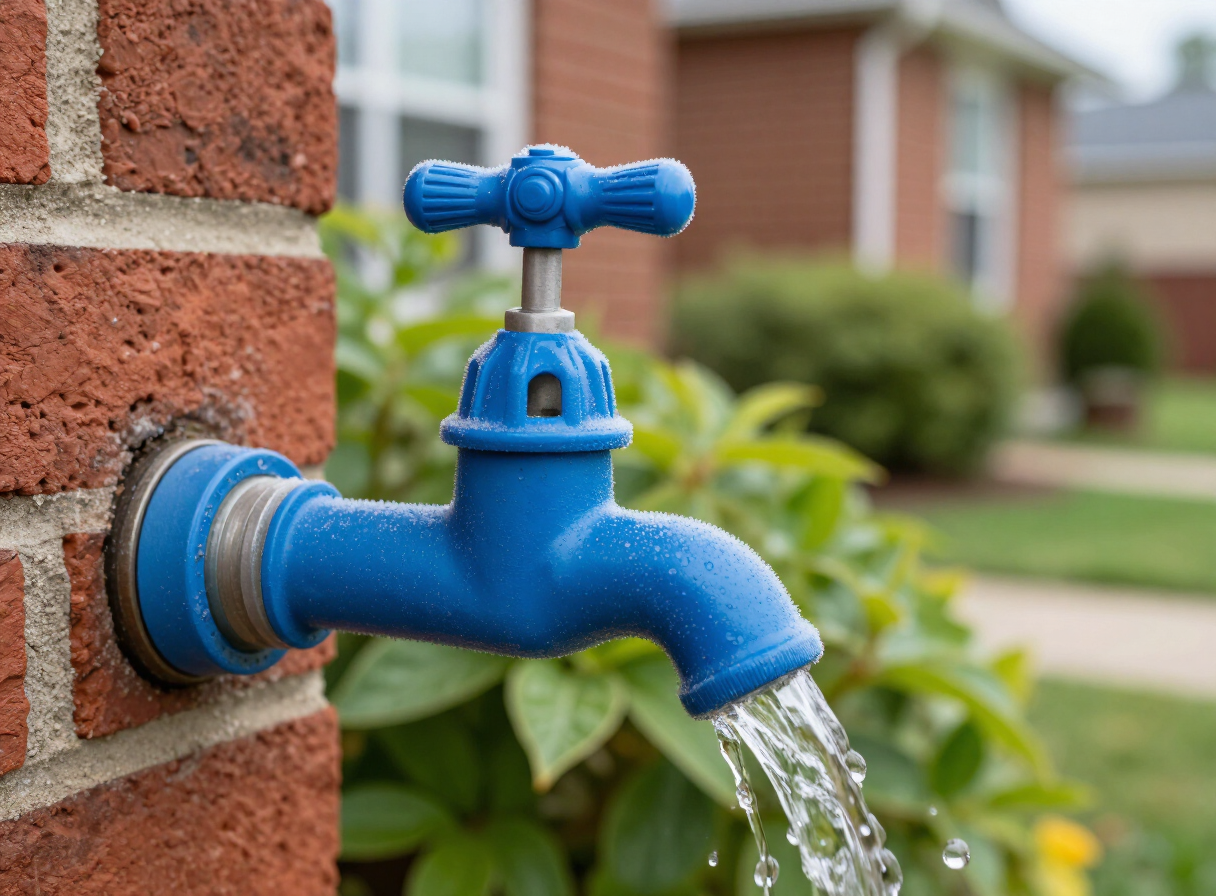
Check local plumbing requirements. Soldering and inaccessible or damaged pipes are reasons to hire a licensed plumber. A frost-proof faucet can still freeze if installed incorrectly or left connected to a hose.
Step-by-step instructions
- 1
Inspect access and measure
Locate the indoor connection and shutoff. Measure the wall thickness and choose a faucet long enough to place its valve seat inside conditioned space.
- 2
Isolate the water
Close the relevant supply valve and open the outdoor faucet to drain it. Verify the water is off before disconnecting the existing faucet.
- 3
Remove and prepare
Disconnect the old faucet using the correct method for your pipe type. Inspect the opening and pipe for damage before fitting the replacement.
- 4
Fit with the correct slope
Install the faucet with the outward drainage slope specified by the manufacturer. Use compatible fittings, secure the flange, and seal the wall penetration.
- 5
Test and winterize
Turn the water back on slowly and inspect the indoor connection. Test operation and drainage. Disconnect hoses before freezing weather.
Watch the project
Frequently asked questions
Do I still need to remove the hose in winter?
Yes. An attached hose can trap water and prevent the faucet from draining.